Bass OS for the Raspberry PI 4 series based on the GloDroid project
![]()
Flashing images
Requirements
Raspberry Pi Imager
Download and install the official Raspberry Pi Imager from here
sdcard.img
Find the latest Bass rpi image archive sdcard images for your target use-case on the GitHub Releases page here
Step 1
Extract the sdcard archive using xz/7zip/Winzip/etc.
Step 2
Launch the Raspberry Pi Imager application
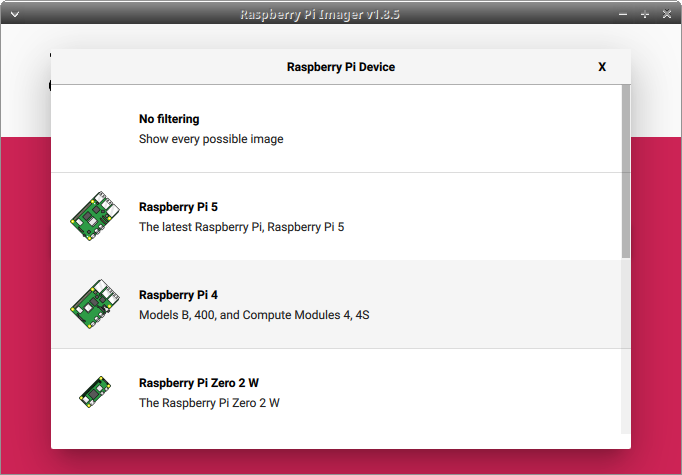
Step 3
Select the CHOOSE DEVICE button and select the Raspberry Pi 4
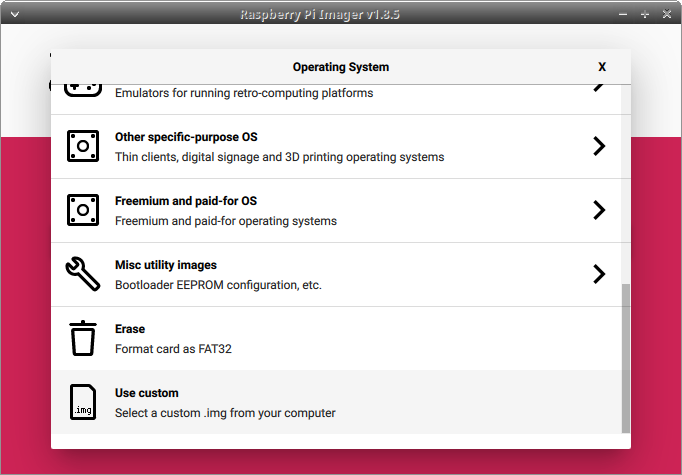
Step 4
Select the CHOOSE OS button and scroll down to the bottom of the list, selecting Use custom
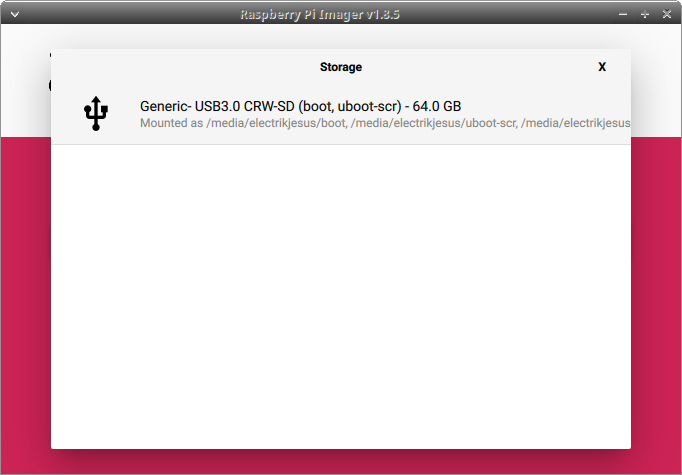
Step 5
Click on the CHOOSE STORAGE button, and select your SD Card device
Step 6
Once you have all the parts selected, the Next button will be enabled:

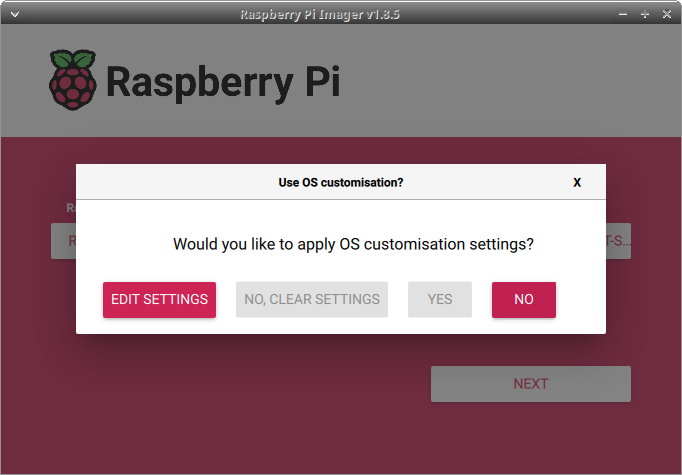
Clicking the NEXT button will ask if you want to make any custom changes. Select NO
Step 7
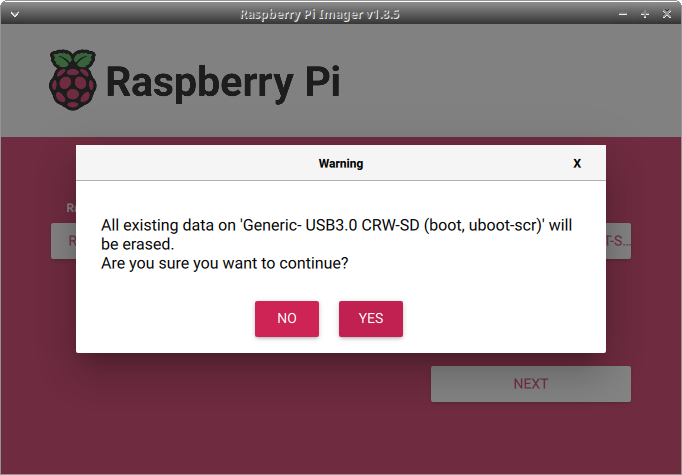
The next question will be a confirmation dialog, making sure you want to erase the contents of the SDCard. Select YES to continue.
Step 8
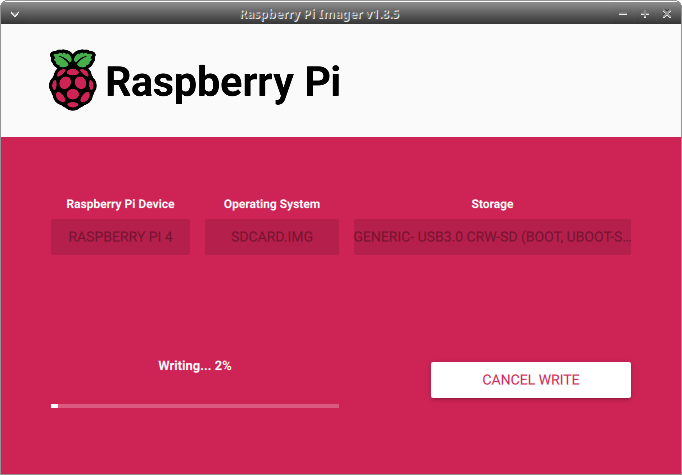
The Imager will then ask for root permissions, and once provided, it will start to flash the sdcard.img onto the SDCard:
Once completed, the Imager will show a Write Successful dialog.
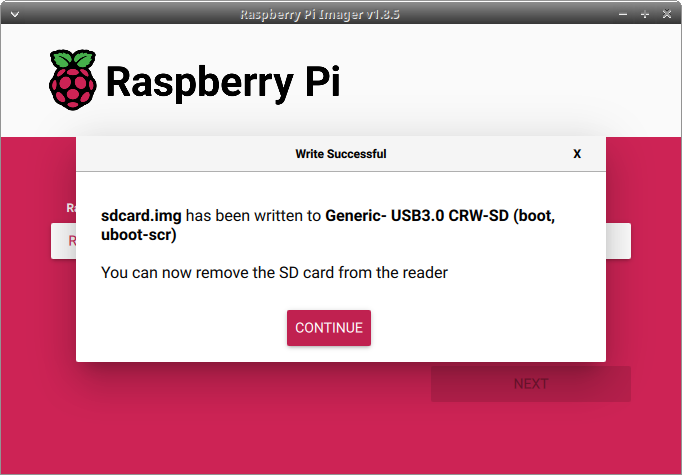
You can safely remove the SDCard from the PC, and plug it into the Raspberry Pi.
Booting
After flashing the SDCard, insert it into the device and turn it on, and it will boot into the OS.
Depending on the version (application use-case), you should let the OS reach the desktop and wait while the target configurations are being set. This process will be setting up configs, apps, and permissions for the user environment, so it may take a bit.
Pressing the home button should make sure that you are set to the correct launcher UI after everything is all set.
!!DISCLAIMER!! Some of the initial configurations will not take effect until a reboot or systemui refresh. So you are welcome to reboot the device after initial setup is complete.